
At a glance
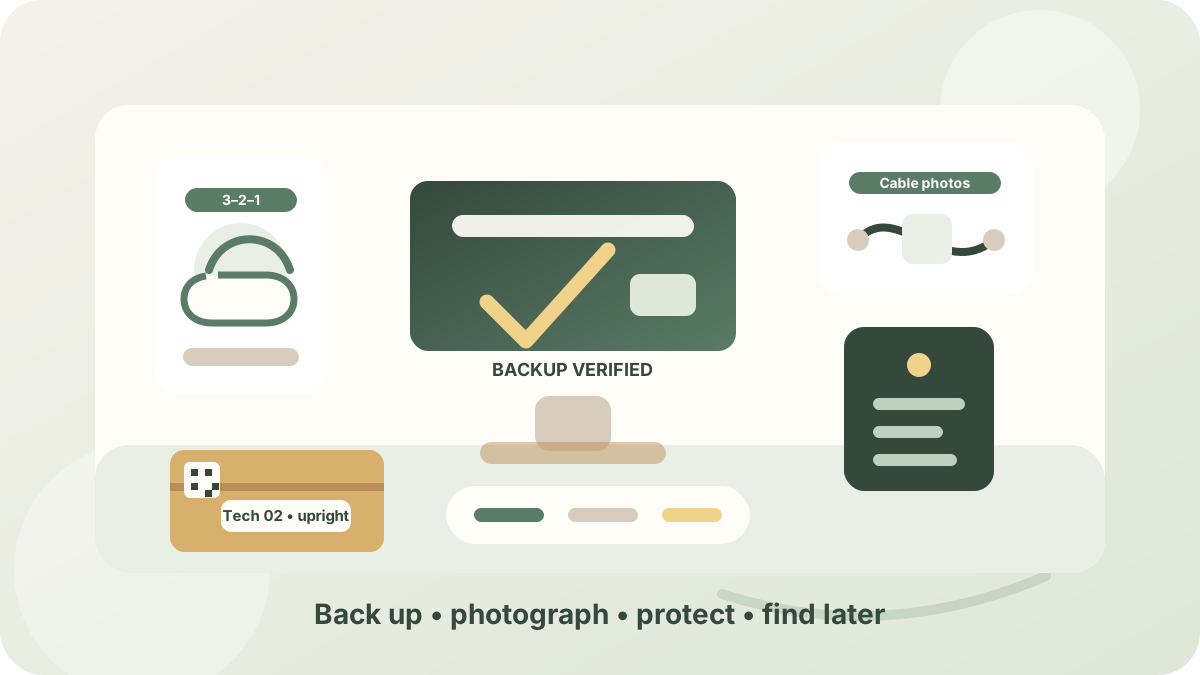
Before unplugging a computer, make more than one verified backup. Photograph the cable setup, keep accessories with the right device, protect screens from pressure and prepare desktop internals carefully. For long-term storage, remove loose batteries and choose a dry, stable environment.
Computer moving
Protect the data first, then protect the machine.
Computers are awkward moving items because the most valuable part is often invisible.
The tower, laptop or monitor can usually be repaired or replaced. Family photos, financial records, saved work, creative projects and years of personal files may be much harder to recover.
That is why the order matters. Do not begin with cables, boxes or bubble wrap. Begin by making sure the important data exists somewhere else and can actually be opened.
The aim is not a perfect technology project. It is a reliable fallback if a drive fails, a box is dropped or a device does not start at the other end.
Use the 3-2-1 backup idea before you unplug anything.
The well-known 3-2-1 approach is a useful way to avoid relying on one device or one location:
- Keep three copies: the working copy on your computer and at least two additional copies.
- Use two types of storage: for example, the computer itself and an external drive, with another copy held in secure cloud storage.
- Keep one copy away from the property: an off-site or cloud copy protects against theft, fire, flood or a moving box going missing.
For many households, a practical version is the original files on the computer, a full backup on an external SSD or hard drive and a second protected copy in the cloud.
Cloud synchronisation is useful, but check what it actually protects. Some services mirror deletions and changes across devices. Version history, deleted-file recovery or a separate backup service gives you a stronger safety net than simple syncing alone.
Back up the files that would hurt to lose.
If time is limited, start with the files that are unique, important or difficult to recreate:
- family photos and videos;
- work files, study folders, code and creative projects;
- financial, legal, insurance and identity documents;
- email archives, password-manager recovery details and software licence information;
- game saves or application data that is not already stored online;
- device setup notes, serial numbers and recovery keys.
Use the built-in backup tool on your computer or trusted backup software to create a proper backup on an external drive. Then place the most important folders in a secure cloud service or another off-site location.
Keep the external backup separate from the computer during the move. Packing the computer and its only backup in the same box protects neither of them from loss, theft or impact damage.
Verify the backup instead of trusting the progress bar.
A completed message is reassuring, but a backup is only useful if you can restore from it.
Open a selection of files from the external drive. Check recent photos, a few documents and at least one important project folder. Confirm that the cloud copy has finished uploading and that you can sign in from another device.
If the backup tool offers a verification or restore test, use it. You do not need to restore the whole computer before moving, but you should prove that the backup contains current files and is not simply an empty folder or an old copy from months ago.
Only shut the computer down once the backups are complete, disconnected safely and stored somewhere you can reach.
Photograph the setup before the cables disappear.
Computer desks collect more connections than most people realise: display cables, power leads, USB hubs, speakers, webcams, network cables, docks, audio interfaces and adapters that all look obvious until they are separated.
Take one wide photo of the whole desk, then clear close-ups of the ports on the computer, monitors and any specialist equipment. Make sure the cable ends and port positions are visible.
If the setup is complicated, add small labels such as “left monitor”, “dock power” or “speakers”. A few minutes spent making a map can prevent an hour of trial and error in the new room.
Keep each device and its accessories together.
A computer is difficult to use without the right power lead, display adapter or charger. Do not scatter those small parts through general moving boxes.
Use zip bags, cable ties or small pouches to group cables by device. Keep the computer power lead, monitor cable, mouse receiver, keyboard cable, dock, charger and essential adapters in the same tech box or clearly linked records.
Do not tape loose cables directly to screens or delicate finishes. Instead, place them in a labelled bag and pack that bag beside the protected device.
For work equipment, consider keeping the laptop, backup drive and anything needed for the first working day with you rather than in the removal van.
Prepare a desktop tower for the journey.
Shut the computer down fully, switch off the power supply and disconnect every cable. Give the case a moment to cool before wrapping or boxing it.
If you still have the original box and shaped foam, use it. It was designed to support the case without pressing on ports, glass panels or ventilation grilles. Otherwise, choose a strong box with firm padding on every side and no empty space that allows the tower to slide.
Large graphics cards and heavy internal components can place strain on their mounting points when a tower is jolted. If you are comfortable working inside the computer, follow the component manufacturer’s instructions for removal or internal support. If not, ask a computer technician rather than improvising with material that could create static, obstruct fans or damage components.
Keep the tower upright and mark the box with its correct orientation. Do not use the computer box as spare space for books, tools or other heavy items.
Protect laptops, monitors and screens from pressure.
Screens are vulnerable to scratches, concentrated pressure and twisting. They need a clean, flat layer of protection and space around the display.
For a laptop, remove loose items from the keyboard and make sure nothing is trapped before closing the lid. A clean, thin microfibre cloth between the keyboard and screen can help prevent rubbing during transit, but it should not be thick enough to put pressure on the hinges.
For monitors and all-in-one computers, use the original packaging if possible. Otherwise, cover the screen with a soft protective layer, protect the corners and place the device in a rigid box with suitable anti-static padding.
Keep monitors upright like framed pictures. Do not lay heavy boxes on top of them, press accessories against the screen or use the display face as a flat packing surface.
Remove loose batteries before long-term storage.
Wireless keyboards, mice, trackpads, remotes and other peripherals often contain removable alkaline batteries. If the equipment will sit unused for weeks or months, take those batteries out.
Old batteries can leak and corrode the contacts inside a device. Store good batteries separately in a suitable container or recycle spent ones through an appropriate collection point.
This advice is for removable batteries. Do not dismantle a laptop or sealed device to remove its built-in rechargeable battery unless the manufacturer specifically instructs you to do so.
Choose a dry, stable place for long-term storage.
Electronics do not respond well to damp, condensation, extreme heat or sudden temperature changes.
Keep computer boxes off bare concrete floors where possible and away from leaking walls, loft heat, direct sunlight and areas with large swings in temperature. Use shelving or a raised platform in garages and storage units.
Cover equipment against dust without trapping moisture inside. Make sure the computer is cool and dry before it is sealed into protective packaging.
When you bring a cold device into a warmer home, leave it switched off until it has reached room temperature and any possible condensation has cleared.
Make the tech boxes searchable.
Tech accessories have a habit of becoming one anonymous tangle: spare HDMI cables, power bricks, adapters, drive enclosures, monitor stands and the one small receiver needed to make a wireless mouse work.
PackQR lets the outside label stay simple, with a box number, destination room and handling note such as “Keep upright”. Inside the private record, you can list the computer, monitor, cables, adapters and accessories in useful detail.
You can also add notes such as “backup drive travelling separately”, “monitor stand in Tech 03” or “desk cables photographed on phone”. Later, searching for “USB-C dock”, “display adapter” or “keyboard receiver” is quicker than opening every office box.
Reconnect slowly at the other end.
Unpack the computer in a clean, dry area and check the case, screen and ports before connecting power. Use the setup photos to rebuild the desk one device at a time.
Connect the essentials first: power, one display, keyboard, mouse and network. Once the computer starts normally, add hubs, extra monitors, speakers and specialist equipment in stages. That makes any connection problem easier to isolate.
Keep the verified backup untouched until the computer is running properly and the important files have been checked.
A careful computer move is not about wrapping everything in the thickest possible layer. It is about creating more than one route back to your data, reducing strain on the hardware and making every cable and accessory easier to find when the boxes open again.
General information: This guide is practical information, not technical repair, electrical or data-recovery advice. Follow the instructions supplied by your computer and component manufacturers, and use a qualified technician where specialist handling is needed.